Recently, I set up a reverse proxy with Nginx to create SSL certificates for the various services in my homelab. This is convenient for navigating the various web interfaces of its services and not having to memorize a bunch of IP addresses, it also makes labelling diagrams much more simple. I followed this guide by Wolfgang’s Channel, which I recommend to anyone who wants to get started with self-hosting. However, I deviated a bit, since I have my own domain, and a couple of my services needed some extra tweaking. I’m primarily putting this up on my site because I don’t yet have an internal document/procedure repository, but also thought it would be nice to show off what I’ve done here.
- Set up Docker on a Debian host - I used a VM on my Proxmox server, but you can use whatever.
- (Optional) make sure your services have been assigned static IP addresses, this will save you headaches later if they change and you can’t access them by hostname.
- Install Docker on the VM by adding the dependencies (i.), the Docker repo key (ii.), adding the Docker APT repository (iii.), and install Docker & Docker-compose(iv. & v.)
sudo apt -y install apt-transport-https ca-certificates curl gnupg2 software-properties-commoncurl -fsSL https://download.docker.com/linux/debian/gpg | sudo gpg --dearmor -o /usr/share/keyrings/docker-archive-keyring.gpgecho "deb [arch=amd64 signe-by=/usr/share/keyrings/docker-archive-keyring.gpg] https://download.docker.com/linux/debian $(lsb_release -cs) stable" | sudo tee /etc/apt/sources.list.d/docker.listsudo apt updatesudo apt-get install docker-ce docker-ce-cli containerd.io docker-compose
- Set up the reverse proxy with the following docker-compose.yml file:
services: nginxproxymanager: image: 'jc21/nginx-proxy-manager:latest' container_name: nginxproxymanager restart: unless-stopped ports: - '80:80' - '81:81' - '443:443' volumes: - ./nginx/data:/data - ./nginx/letsencrypt:/etc/letsencrypt``` - Run
docker-compose up -d - Navigate to http://[Debian VM’s IP]:81 in a web browser
- Sign in with default credentials ([email protected]:changeme)
- Change credentials upon logging in
- Sign in to Cloudflare and navigate to DNS records
- Update your A record to point to your Nginx proxy manager, and add a CNAME record to point to the domain root

- Update your A record to point to your Nginx proxy manager, and add a CNAME record to point to the domain root
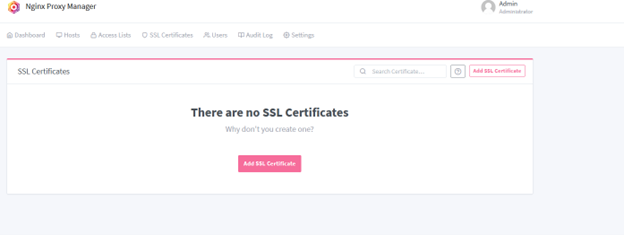
- After logging in to the proxy manager, navigate to “SSL Certificates”>“Add SSL Certificate”:
- add your domain name, as well as a wildcard domain subdomain (*.domain.com)
- Tick “Use a DNS Challenge”
- Under DNS Provider, select Cloudflare
- Open a new tab and return to your Cloudflare dashboard
- In the overview section, scroll to the bottom of the page and click “get your API token”
- Click “create token”
- On the next page, scroll to the bottom of the page and click “get started”
- Name the token
- Under Permissions, select Zone in the left box, DNS in the center, and Edit in the right.
- Scroll down and click “continue to summary” on the next screen, click “create token”
- Copy the token, you will never get to see it again.
- Return to Nginx proxy manager tab and paste the token in the “credentials File Content” section.
- Agree to terms of service and hit “save”
- If the process fails, you may need to increase the TTL in the bottom section to be around 120 seconds
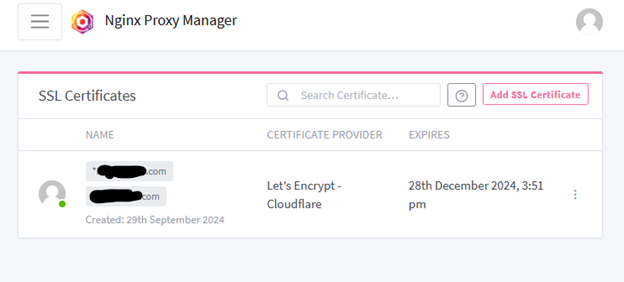
- Once the process is complete, you should see your certificates
- From here, you can navigate to “Hosts” in the navigation bar to begin assigning names to your hosts.
- Select “add proxy host” and fill out the form.
- For domain name, add the name of the service and append the domain name (ex. nas.example.com for a Network Storage service)
- Scheme will generally be “http” (though some services such as Proxmox may use HTTPS)
- Enter the IP address of the service, and the port
- On the SSL tab, select from the drop-down menu the option containing your wildcard and domain root certificate
- For domain name, add the name of the service and append the domain name (ex. nas.example.com for a Network Storage service)
- Hit save, you now have a working proxy host.
- Select “add proxy host” and fill out the form.
- If you encounter a host that does not work, move on to the next and come back. Some services, such as PfSense, require additional configuration on the host to work.
- In PfSense’s case, you will need to go to System>Advanced, and add the url in the “alternate hostnames” field, and tick the “Disable HTTP_REFERER” enforcement check box (don’t forget to save)
TROUBLESHOOTING
- If you get 502 “bad gateway error” on any of your FQDNs, you might try changing the proxy host settings so that the scheme is HTTP and the SSL tab has “Force SSL” enabled.
POSTSCRIPT:
*I ran into a problem in my environment in which FQDN resolution broke every time I turned on my Domain Controller. This is anticipated and has a very simple fix. Because your DC is likely the authoritative DNS server for your environment, it will try to route https requests to those FQDNs for which it has no record. This can be fixed by indicating the Nginx Reverse Proxy’s IP address in the following places in DNS manager:
- Start of Authority Record: in the Name Servers tab in properties
- Name Server Record: in the Name Servers tab in properties
- There should exist an A record with the domain name as its FQDN and the Nginx Reverse Proxy’s IP address.
- A wildcard CNAME record should be created (*.example.org)
If the reader has any questions about this, or feels that something is missing. That’s because it’s mostly for my own benefit. If you are trying to follow this guide and need clarification on something, don’t hesitate to email me. Additionally, if you see a mistake here, or a configuration or security misstep, also don’t hesitate to reach out.
if you have anything to say or add to this, or any other pages on my site, feel free to email me at [email protected] & I will try to respond to you within a week.